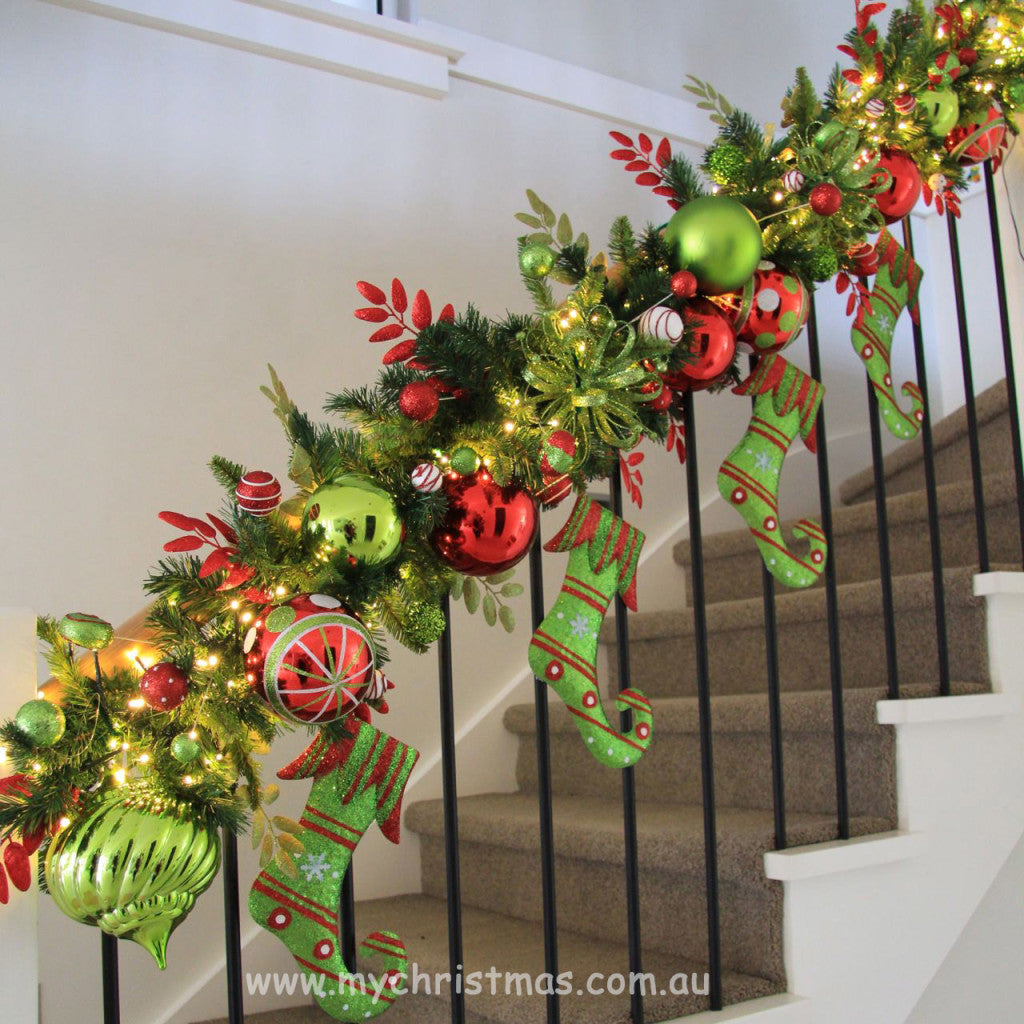
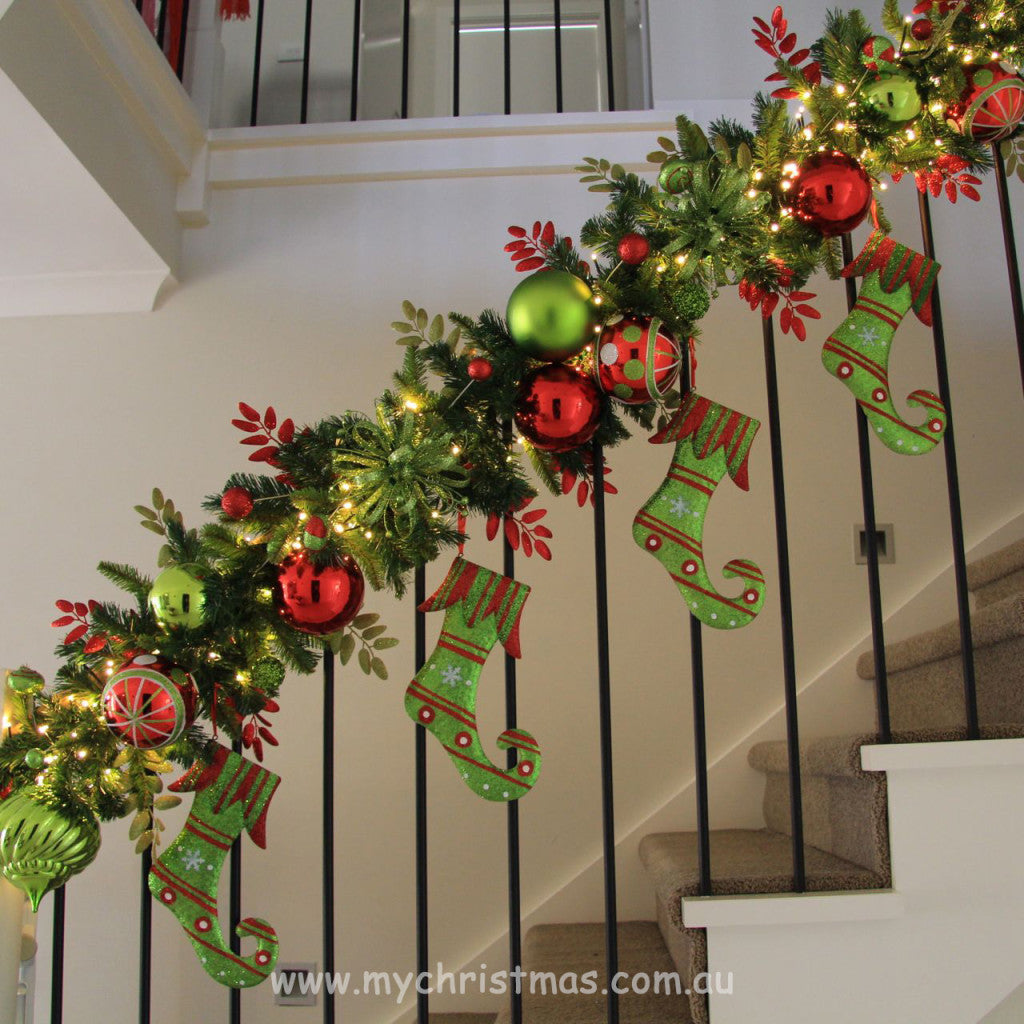
One of the tips we are asked for often is garland designs. Today I'll show the simple processes to create a gorgeous staircase garland. Oh, and if you don't have a staircase don't worry. You could use exactly the same methods to create a garland for around a door frame (inside or outside) or to sit across a mantel or sofa table.
What you need to create this garland:
- 2.7metre green garland (I've used our newhampshire garland)
- Lights (I wanted lots of lights so I've used 2 strings of our garland lights. Total lights 400 on only 6 metres of cord - plus these are connectible lights so only one transformer)
- 2 onion finials for either end of garland (approx 15cm diameter)
- 2 green and 2 red piece of leaf foliage (cut up and used throughout the garland)
- 3 feature balls 12cm diameter
- 3 12cm red baubles
- 1 12cm lime matt bauble
- 2 10cm lime shiny baubles
- 2 15cm diameter green wire flower ornaments
- small baubles or picks to fill out around the foliage. (I've used a packet of small green foam glitter balls, packet of red/white small foam glitter balls and 2 red/green picks I've broken apart and spread through garland).
The Processes: 1. Hang the garland to get the correct length and make sure you are happy with the overall style. I wanted it flush against the hand rail but you could also have it swagged on the staircase. You can use plyers to cut the length of the garland if you wish.
2. Take the garland down and lay your lights through the garland. Once you are happy they are evenly spread throughout the garland wind them through the top of the garland and, to secure, rap some of the garland branches around the lights at regular intervals.
3. Cut the foliage into smaller pieces and, using a hot glue gun, glue it around the garland foliage. (I glued along the top of the foliage and attach it to the underneath of a piece of foliage).
4. Before working with your baubles I highly recommend using a hot glue gun and surrounding the edge of the cap with glue. (When you attach these baubles you pull them quite tightly so this will help avoid the bauble coming off the cap). Lay out your baubles to see where everything will go. When you are happy with the position use pipe cleaners to attach the baubles to the central wire of the garland. In the middle where there are 3 balls I've put them all on one pipe cleaner first and then attached to the garland.
5. I like to attach the garland then to the staircase and add any final pieces at this stage. To attach the garland I use pipe cleaners or you could use cable ties. The pipe cleaners are visible on the railing but I use a little foliage to try and disguise them. (Having the visible pipe cleaner is a small price to pay for a beautiful stair case garland.) To finish off I glued (again using a hot glue gun) light weight foam glitter baubles to the foliage. I also simply fed some baubles on picks throughout the garland (ie they are not attached and will come out when I pack this away). Finally, I just love the tin stockings to hang from the garland.


 Finally, to clean up I've used blutac on the cord so it runs down the corner of the wall. Voila. You are done. This project probably takes about an hour to complete. Hope you have found this useful.


