For the past 3 years I've created staircase garlands. They are (apart from the Christmas tree) my favourite parts of the Christmas display. And, while they can look difficult, they are actually very easy to create.
Here is our step by step guide to how I created the 2014 staircase garland.
Firstly, the materials we used:
- 2.7m length of garland. (I then measured the staircase and cut the garland the the length of the staircase. I was lucky that the left over piece fitted perfectly into my small balustrading at the top of my stairs)
- 6 metres of garland lights (400 lights)
- piece of glittery garland
- 3 x 12cm baubles for my centre point
- 4 x 12cm baubles for the either end (ie two each end)
- 2 x 15cm red candy balls
- 4 x 12cm balls (2 bunches of 2)
- glittery foam balls (ball packs and picks) to scatter over the garland
- 5 large white holly leaf picks
- Santa elf
Step 1: Fluff garland and light
When you fluff the garland take a bit of time to ensure every tip has been sprayed out from the garland stem. To light the garland, lay the garland on the table/floor and zig zag the lights left and right down the entire length of the garland.
You will lay the lights under some of the foliage as you do this, but they are not connected to the garland. Once you are happy there is an even coverage of lights, push some of the lights under the tips and wind some of the tips around the light cord to ensure the lights stay where you want them. (The image below shows the general path of the lights. The zig zag will be wider if you have a long string of lights, and narrower if your lights string is a similar length to your garland.)

Step 2: Filler Garland
Next we want to add our decorative garland to our greenery. In this piece I've gone with a red/white/green theme and a bit of an icy finish to match in with some of the other decorations created this year.
Again, if you have a narrower decorative garland, or longer length, you will zig zag this over the garland, but in this case, because the icy garland foliage sprays out a fair way from the stem, I can simply lay it down the middle of the garland. Once I'm happy with the position I use pipe cleaners to tie the two pieces of garland together (by tying around the stems of both).

Step 3: Centre and larger baubles
To decorate I always work from the centre, so position my central baubles first. All larger pieces are attached with the pipe cleaners. Group the 3 balls on one pipe cleaner and tie the pipe cleaner around the middle stem of the garland. To keep the entire piece symmetrical I then work a group of baubles towards either end, and finally a group of baubles half way between the centre and ends. These are all great filler baubles. Using larger size baubles for these main components adds luxury to the overall look of your garland.

Step 4: Position Garland
Once the larger pieces are all in place I like to attach my garland to the staircase. Unfortunately, for a staircase like mine, where it is necessary to tie around the balustrade there is no option but to have a couple of ties, ribbons, or pipe cleaners visible. This is a small price to pay for a beautiful garland.

Step 5: Fill
To complete the garland I fill with picks that are simply pushed into the garland, as well as small, light foam balls which are glued around the garland. There are two things I think help complete the look of your garland: 1. Small filler baubles glued around the garland. (Use a hot glue gun but be very careful because this glue does burn). 2. Foliage to fill out the top and bottom of the garland. For this year I've pulled apart our gorgeous large white poinsettia foliage and sprinkled it, and a few crystal snowflakes around the garland.
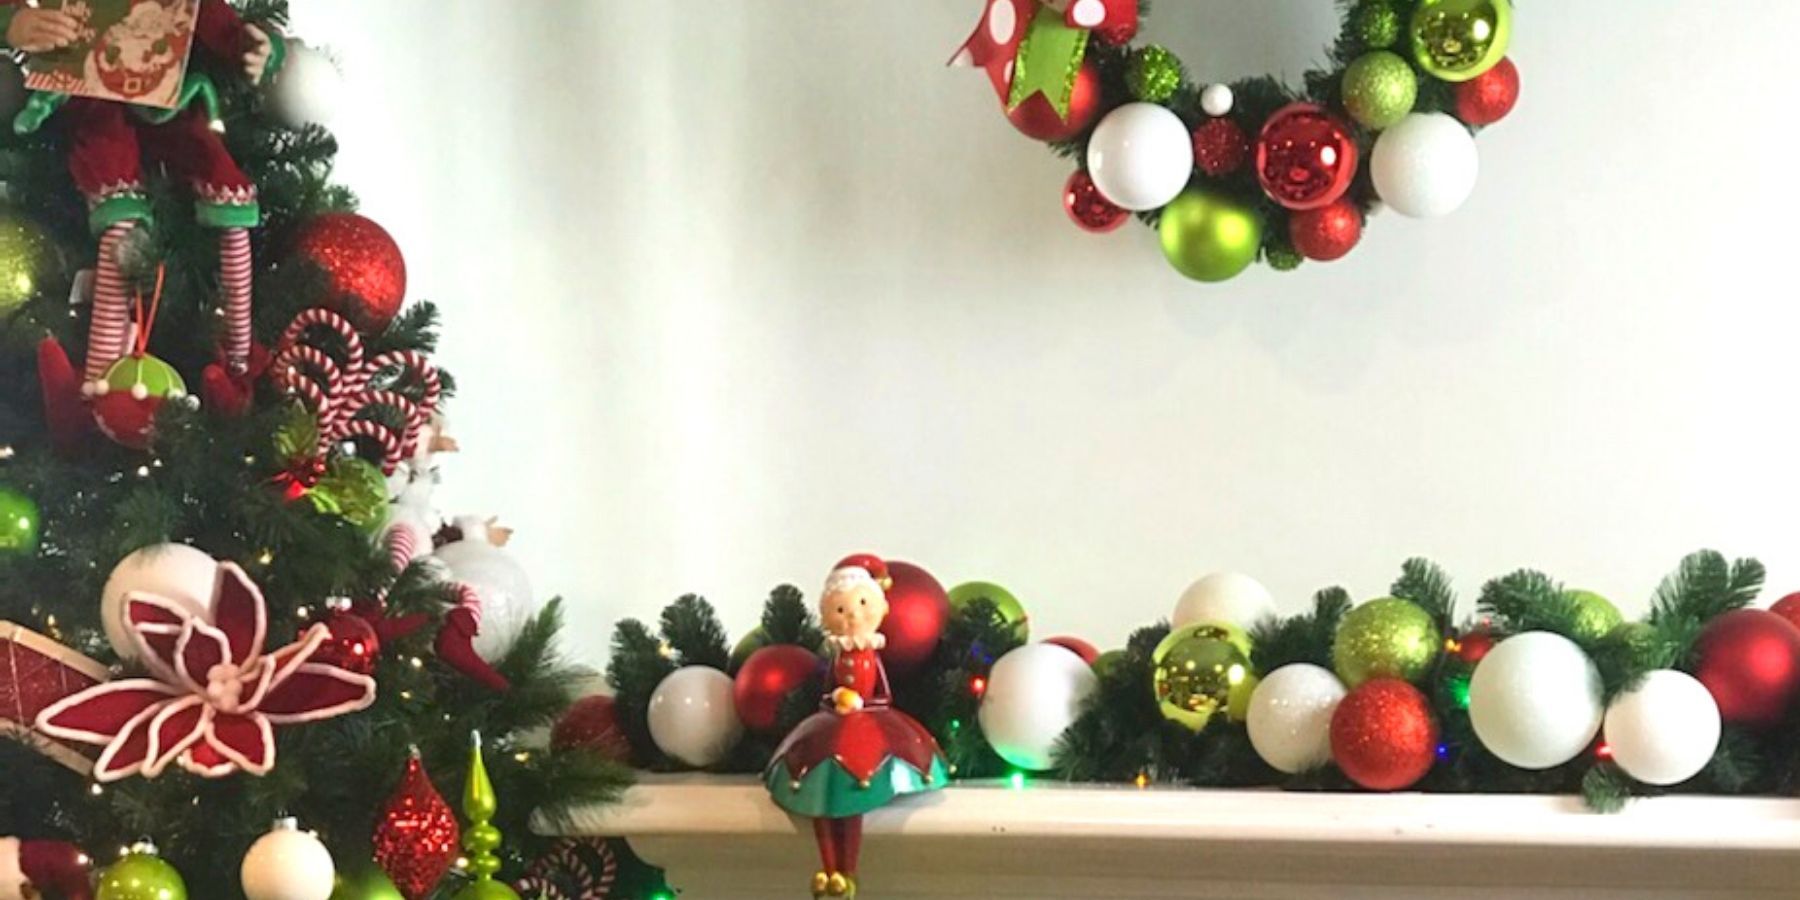
Step 5: Final look
Upon my final inspection I decided I just needed a couple of poinsettias on either side of my central display. I also decided to add a Santa Elf to sit at the front of the garland. Now I'm happy - my garland is complete and the shining centre piece of my Christmas display.